
This is the last week of January, but believe it or not, it’s time to start a few seeds inside! As I was gathering my supplies together, I could hear the sleet hitting the windows…so I cranked up the heat, grabbed a cup of coffee, and dug my hands into the soil!
Since I’ve seen several flower farmers/gardeners rave about soil blocking, I’m really excited to try it this year.
the benefits of soil blocking:
- seedling roots are ‘pruned’ by the air which prevents them from becoming root bound
- plants are healthy and strong since their roots are oxygenated
- seed blocking reduces the risk of transplant shock
- because the blocks are small, you can fit more seedlings on a heat mat and under grow lights
- added bonus: no more flimsy plastic flats to deal with (or dispose of after they’re broken)
The steps to sowing seeds with soil blocks are listed below…
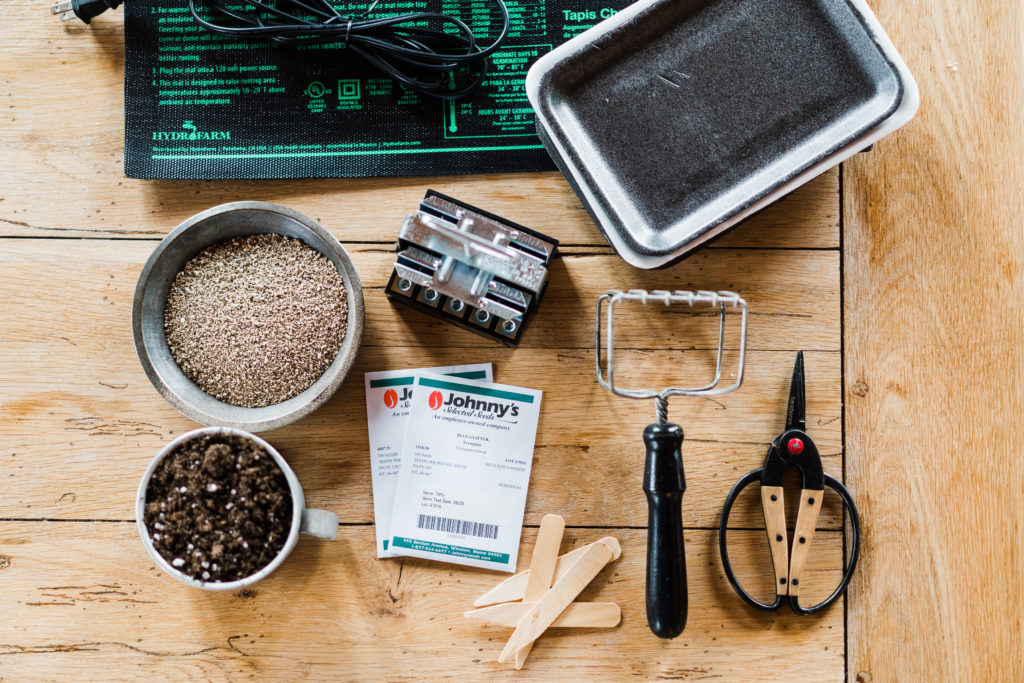
step 1: gather your supplies
Throughout the year I save STYROFOAM TRAYS from the grocery store. They were from mini cucumbers, little sausages and other random fruits or veggies that were packaged on a styrofoam tray. I feel better recycling the trays instead of just tossing them into the trash. However, between you and me, I’d love to get to the point where I don’t buy as much from the grocery store in general. I’d like to grow/raise my own things 🙂
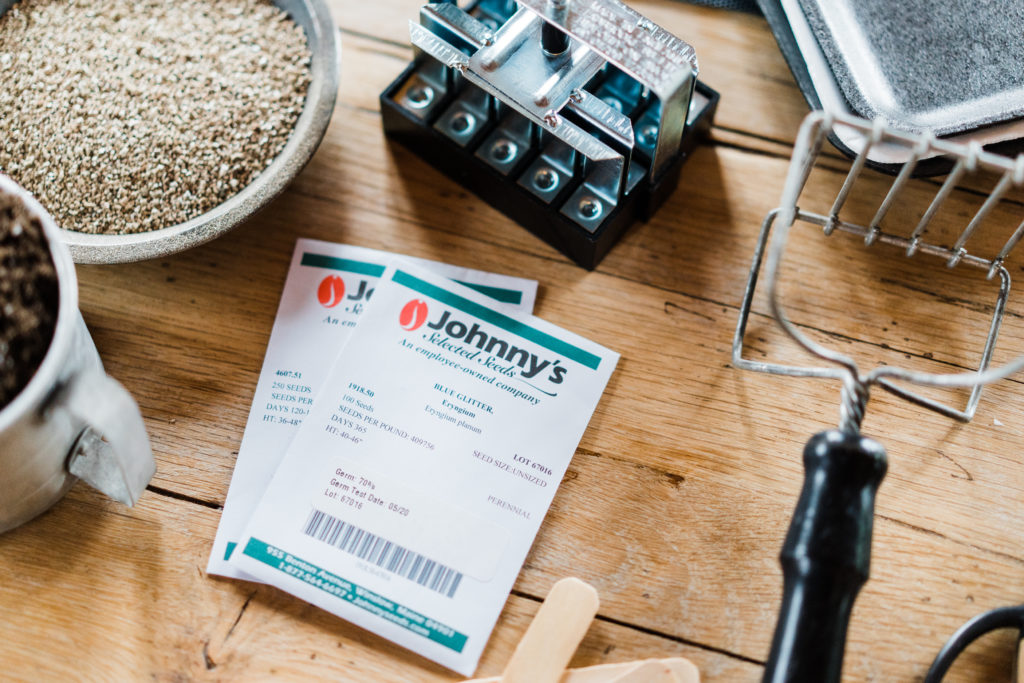
I purchase SEEDS from a variety of places, but my favorites are: Johnny’s Selected Seeds, Eden Brothers, Floret, Geoseed, Botanical Interests, Baker Creek Seeds, and I even save some of my own seeds.
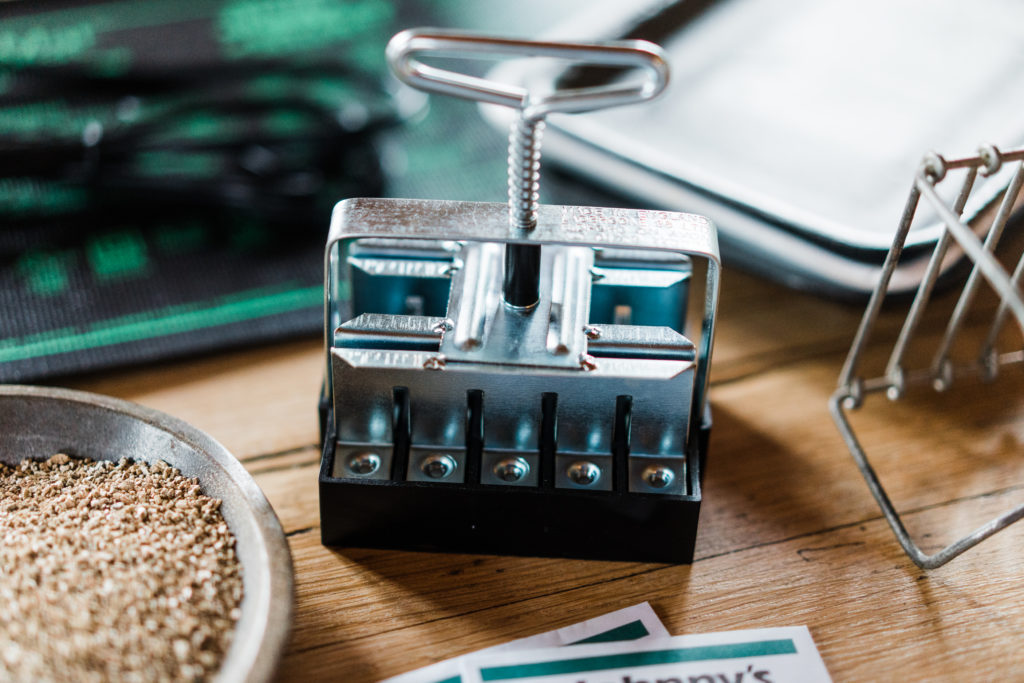
I purchased the 20 block SOIL BLOCKER from Johnnys. Each block measures about 3/4″ by 3/4″. There is also a larger one – 2″x2″, but that one is probably best for larger seeds like watermelon, squash, sunflowers, etc.
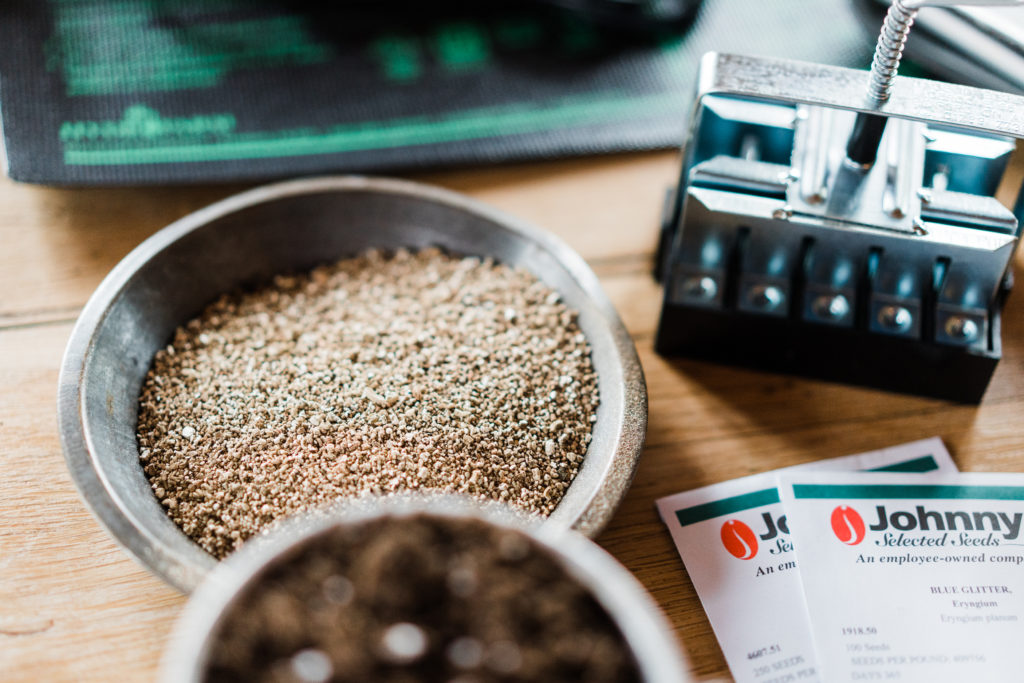
I bought the VERMICULITE at our local hardware store. Whenever possible, I try my best to shop local. The larger bowl has vermiculite and the antique metal cup below it has the soil
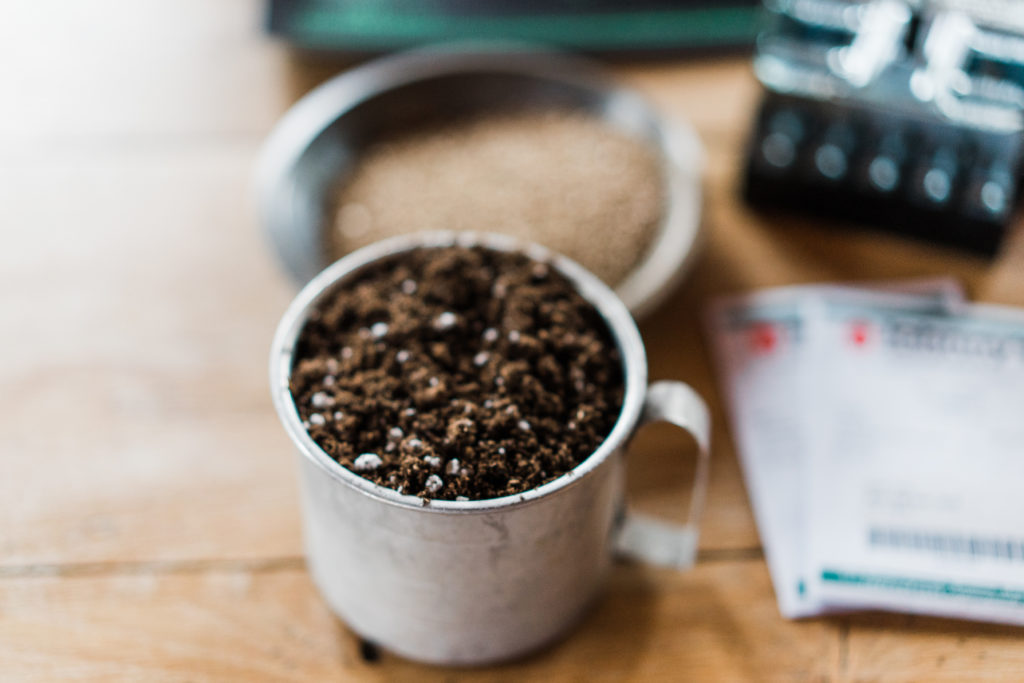
SOIL…probably the most important ingredient! You definitely do NOT want to use potting soil, garden soil, etc. There are homemade recipes out there, but I chose to purchase mine this year. I bought Pro-Mix BX Mycorrhizae Growing Mix from Ace Hardware. It was pretty pricey, so shop around. Next year I’m purchasing it from Nolts Garden Center.
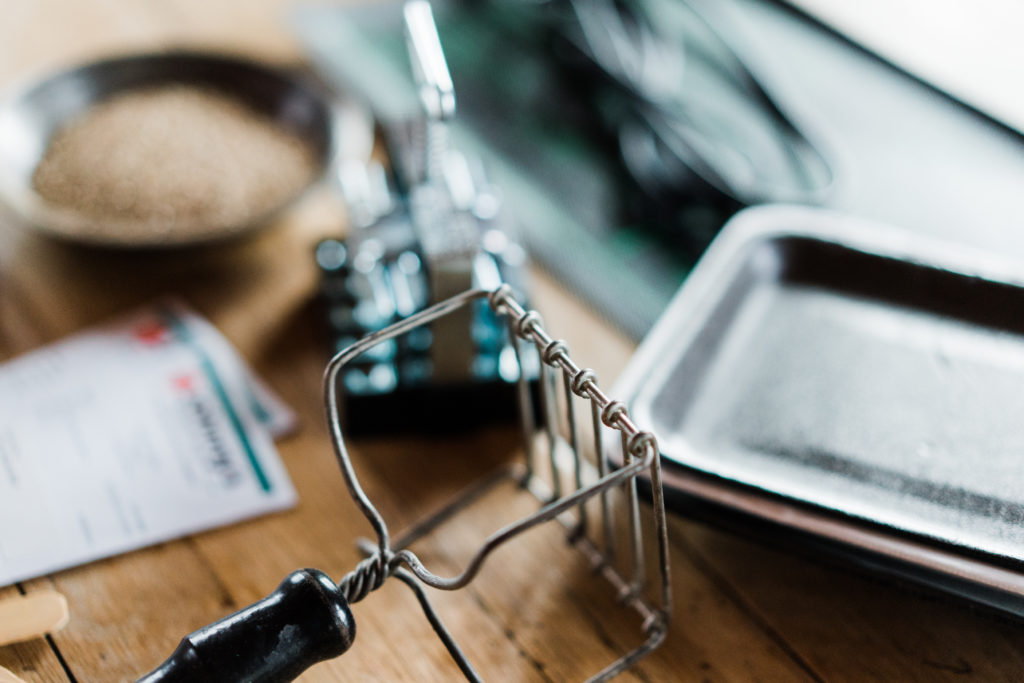
This antique POTATO MASHER is perfect for mixing the soil and water. I don’t mind using my hands, but the masher is also great for scraping off the excess soil from the bottom of the blocker.
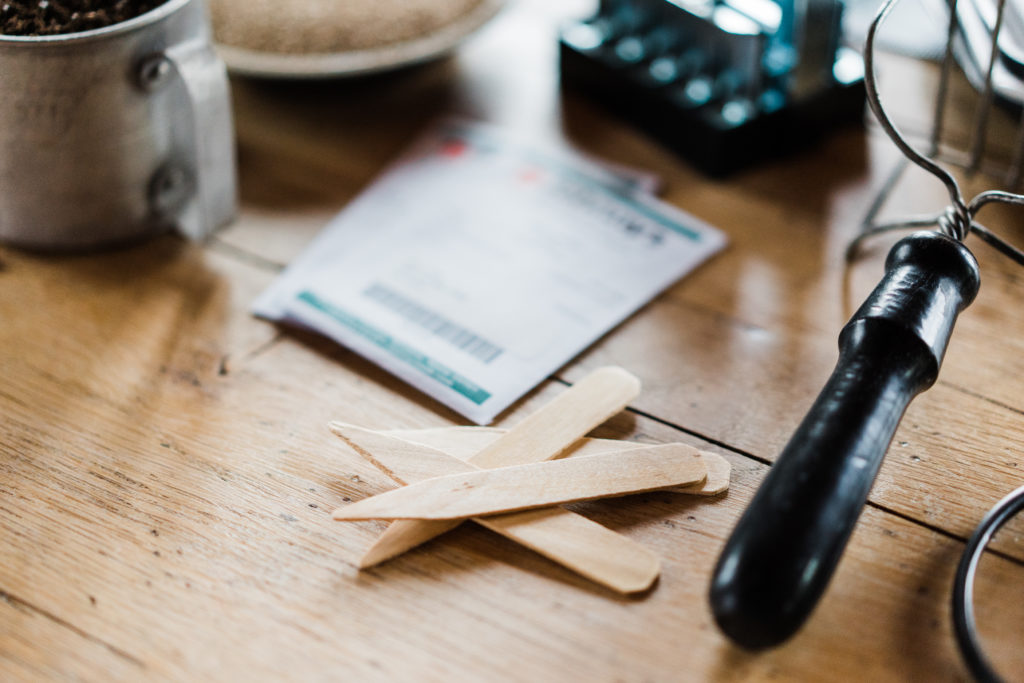
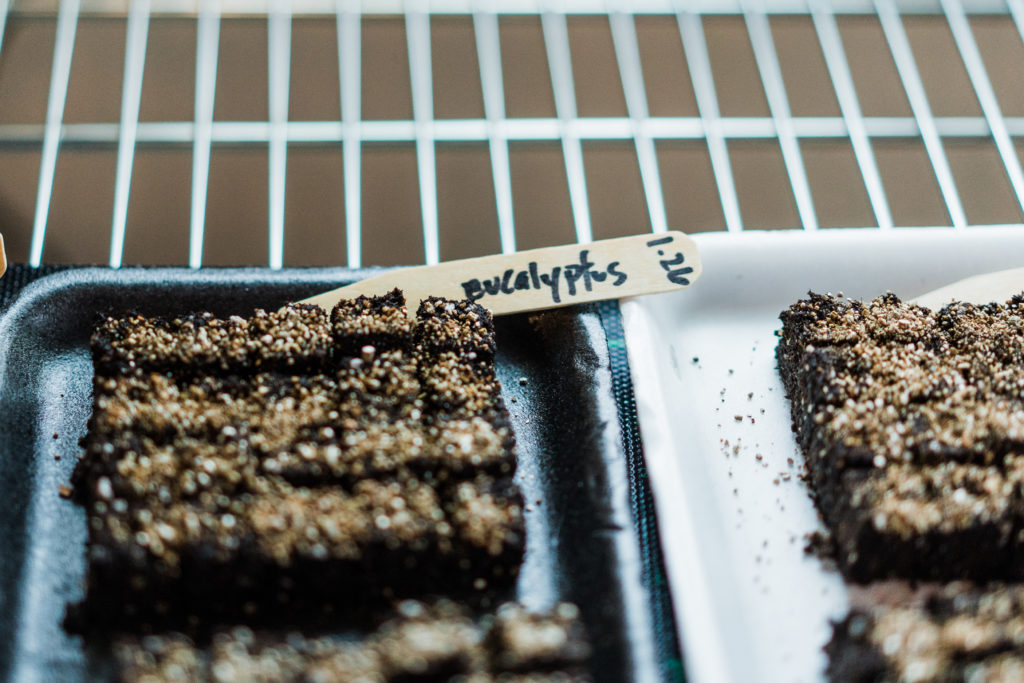
There are so many different ways you could label your seeds…but just make sure you don’t forget! I’ve forgotten before, or mixed seed trays up…and then it’s just a giant surprise in the spring! haha! I prefer to use wood plant tags because they’re compostable in the long run. I bought these from Johnny’s as well.
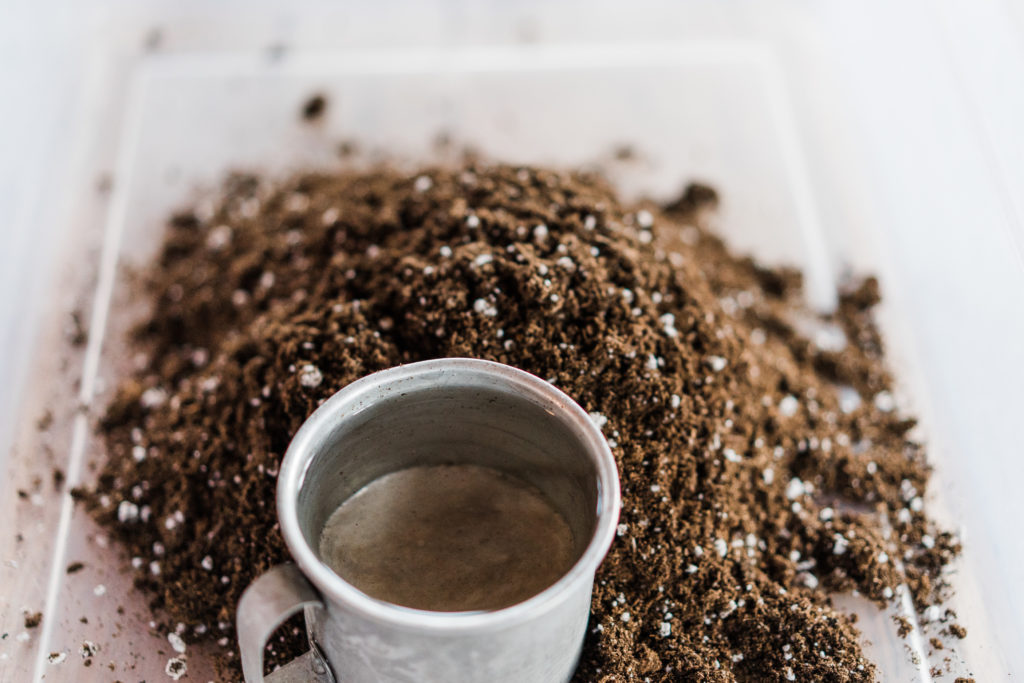
step 2: mix the soil and water
I found that the best mixture for soil blocking is 3:1. Three parts soil to one part water. For the two packets of seeds I was sowing (a total of 350 seeds), I used 13 cups of soil and 4 1/2 cups of water. The mixture should be very moist (yep, I hate that word too!), but not sopping wet.
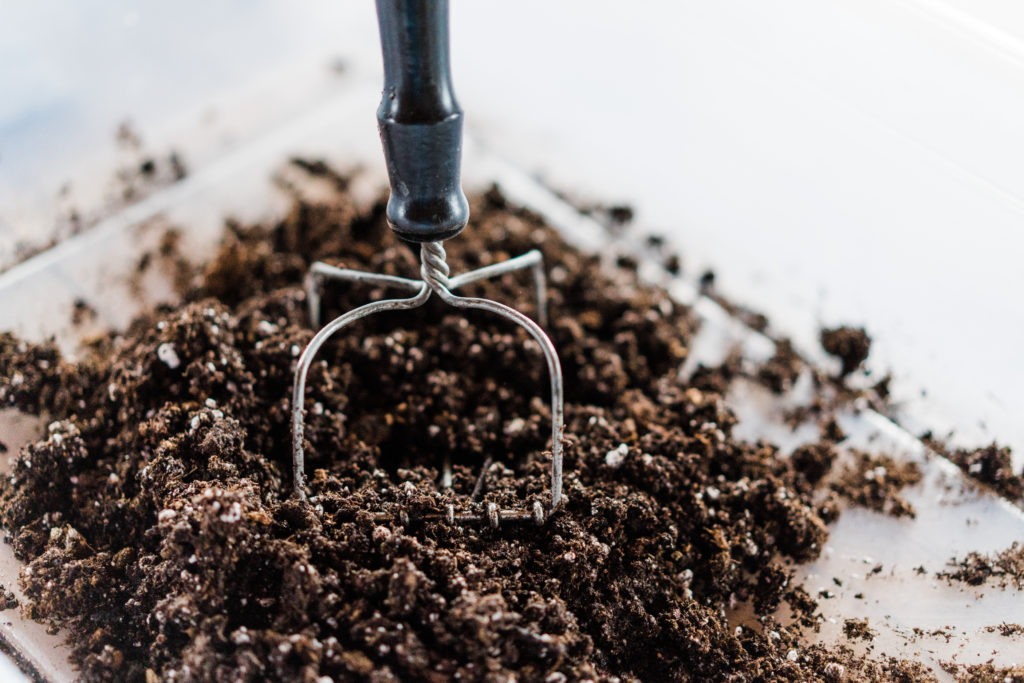
Mix the soil and water – proof that the masher is the perfect mixer! 🙂
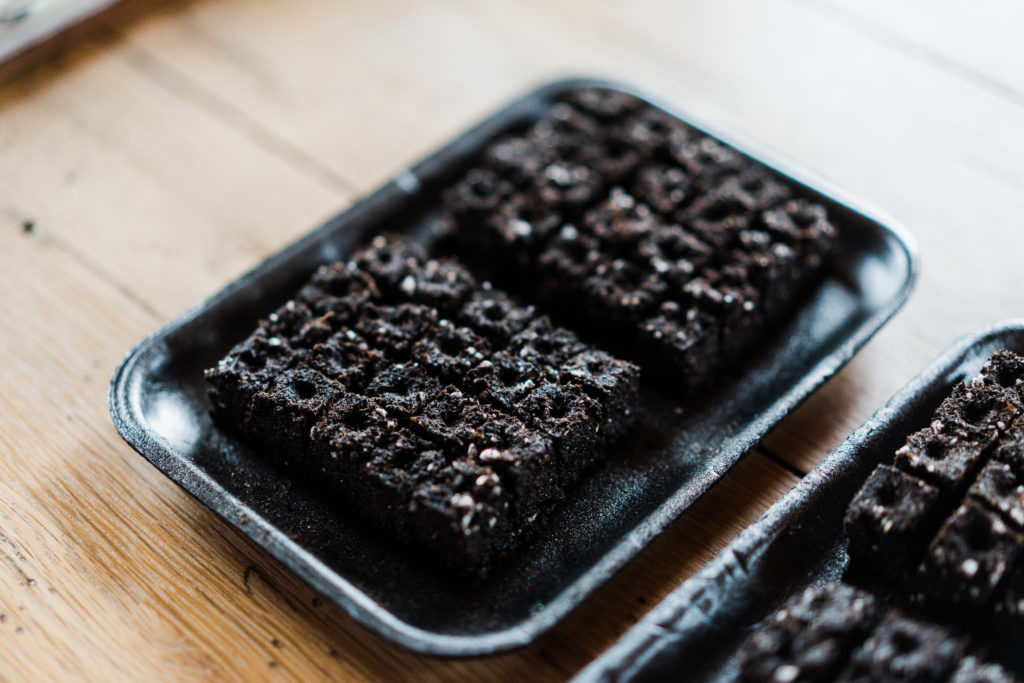
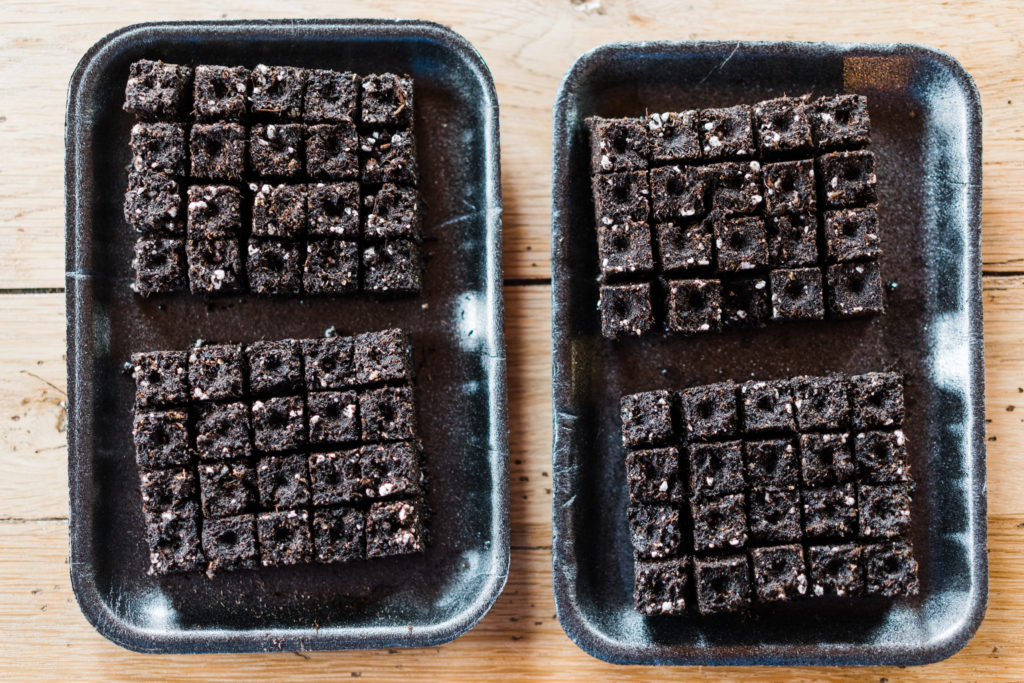
Work your soil blocker into the mixture until each cell is filled. I usually ground it into the mixture several times to make sure the soil got into every space. I used the potato masher to scrape off the excess soil at the bottom of the blocker. Then gently release the soil onto your trays. Just look at the perfect, little hole that’s just waiting for your seed!!
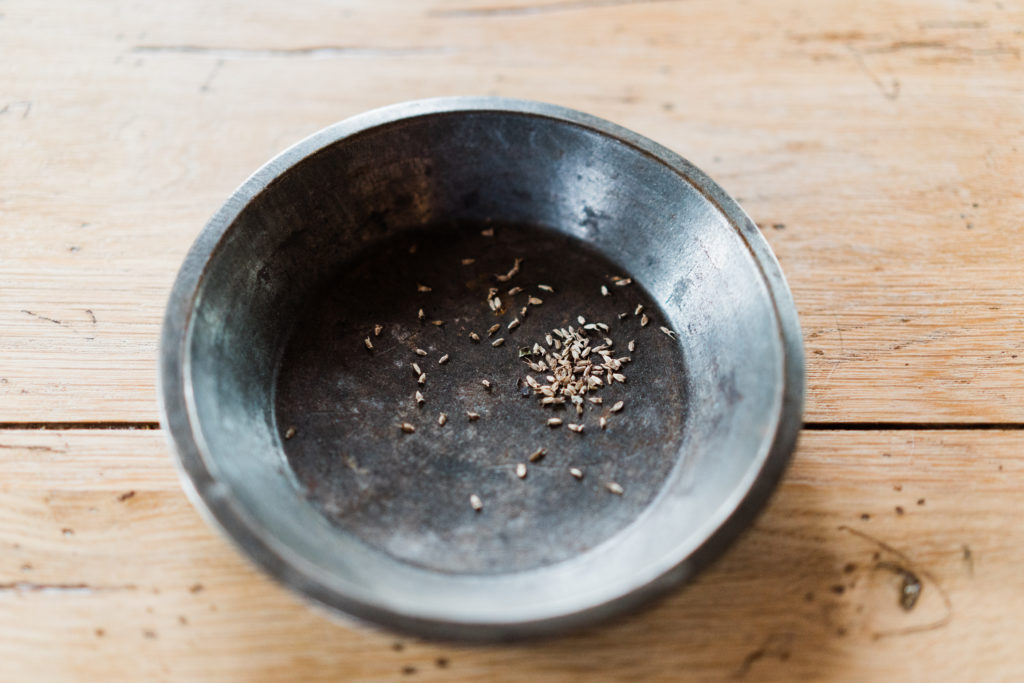
The seeds above are Eryngium seeds – they’re pretty small, but also way larger than many other types of seeds. I found the easiest way to drop a single seed into a soil block hole is to use a toothpick. Wet the end of the toothpick and touch it to a seed…the seed sticks to the toothpick easily! Then drop the seed into the hole. simple!
step 3: know your seed germination recommendations
After your seeds are sown into the soil mixture, you’ll want to know how the seeds will germinate (grow). Most seed companies put seed information on the back of their seed packets. At this point, you want to find “seed germination” info.
For example, some seeds need light to germinate. Some don’t. Some germinate with warm soil, and some will germinate with cooler soil.
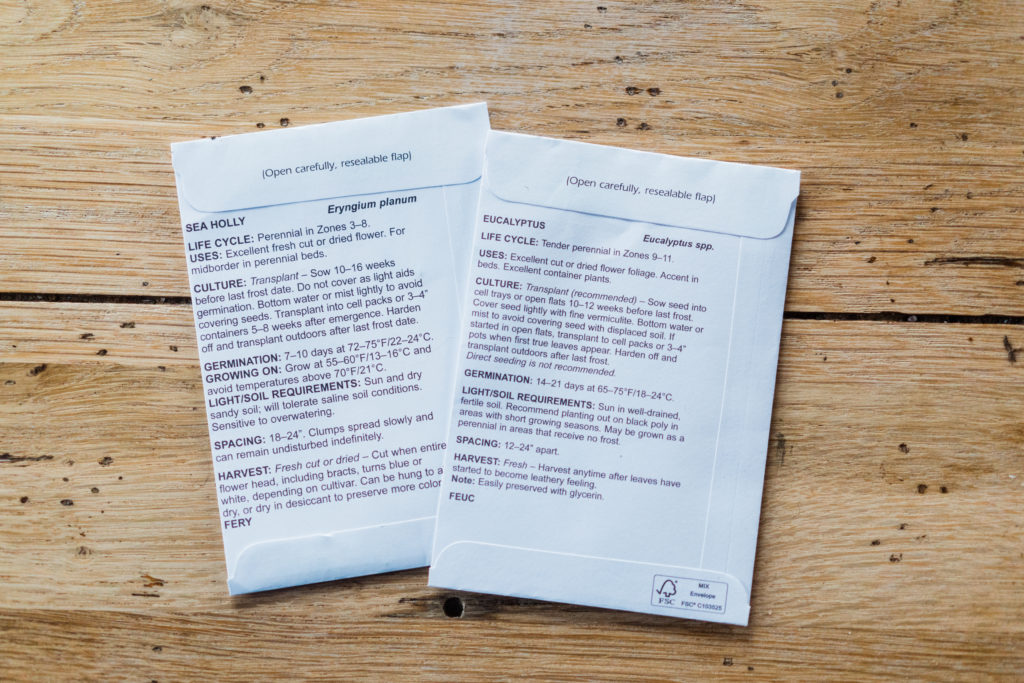
The two two types of seeds that I chose to plant take awhile to grow and mature: Baby Blue Eucalyptus and Blue Glitter Eryngium (or Sea Holly). The Eryngium needs light to germinate, so I didn’t cover it with soil. I also put it right under a grow light.
The Eucalyptus seeds need to stay moist at all times, so, as per the directions on the back of the seed packet, I covered the seeds lightly with vermiculite (retains moisture). They also like the soil to be a little warmer, so I placed them on a heat mat. The seedling heat mat is also from Johnnys.
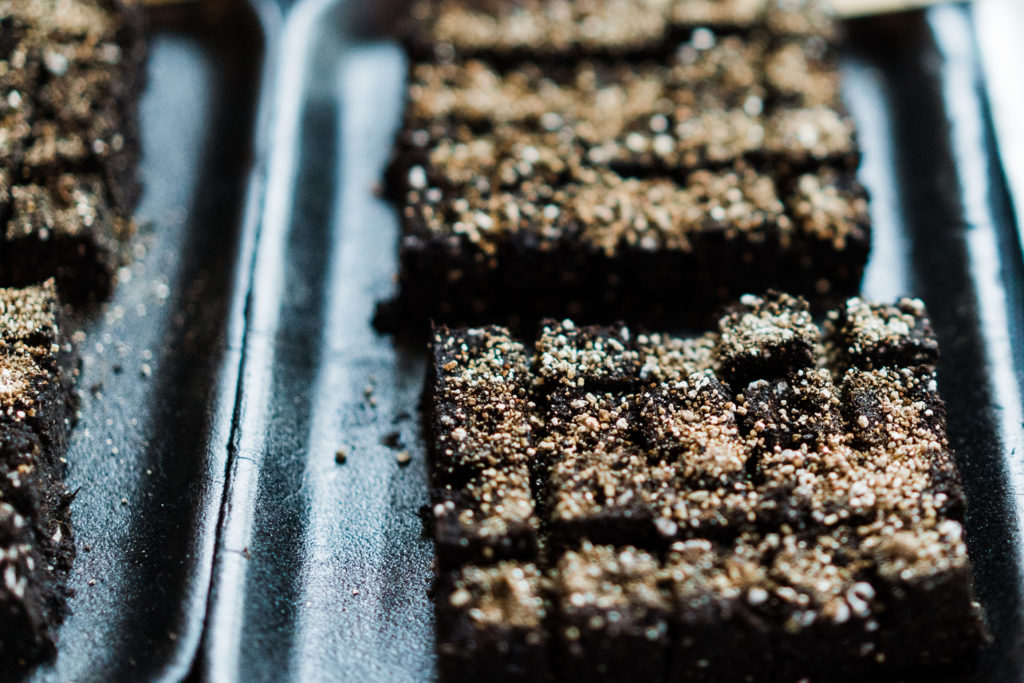
They almost look like some sort of yummy brownie, don’t they?!?
step 4: water daily and wait
I water my soil blocks every morning before coffee. You definitely don’t want to let them dry out! However, they should also not be sitting in a puddle of water.
When at least 50% of your seeds germinate, you’ll want to keep them under a grow light. I purchased shop lights from Lowe’s and put a warm and a cool bulb in each light fixture. The light should be an inch or two from your seedlings.
Oh, and my lights are on a timer. They come on at 6am and shut off at 10pm.
If you have any questions, please feel free to ask your question in the comment section below. I’d also love to hear how your seed starting is going!


[…] 3.8 cu ft (30/PLT)soil that I use for soil blocking (you can find more information on that HERE). Because sweet pea seeds are large, I didn’t want to use my small soil blocker, so I used my […]